1
/
of
5
Flexible Led Light Strip, Dual Color
Flexible Led Light Strip, Dual Color
Regular price
$22.99 USD
Regular price
Sale price
$22.99 USD
Taxes included.
Shipping calculated at checkout.
Quantity
Couldn't load pickup availability
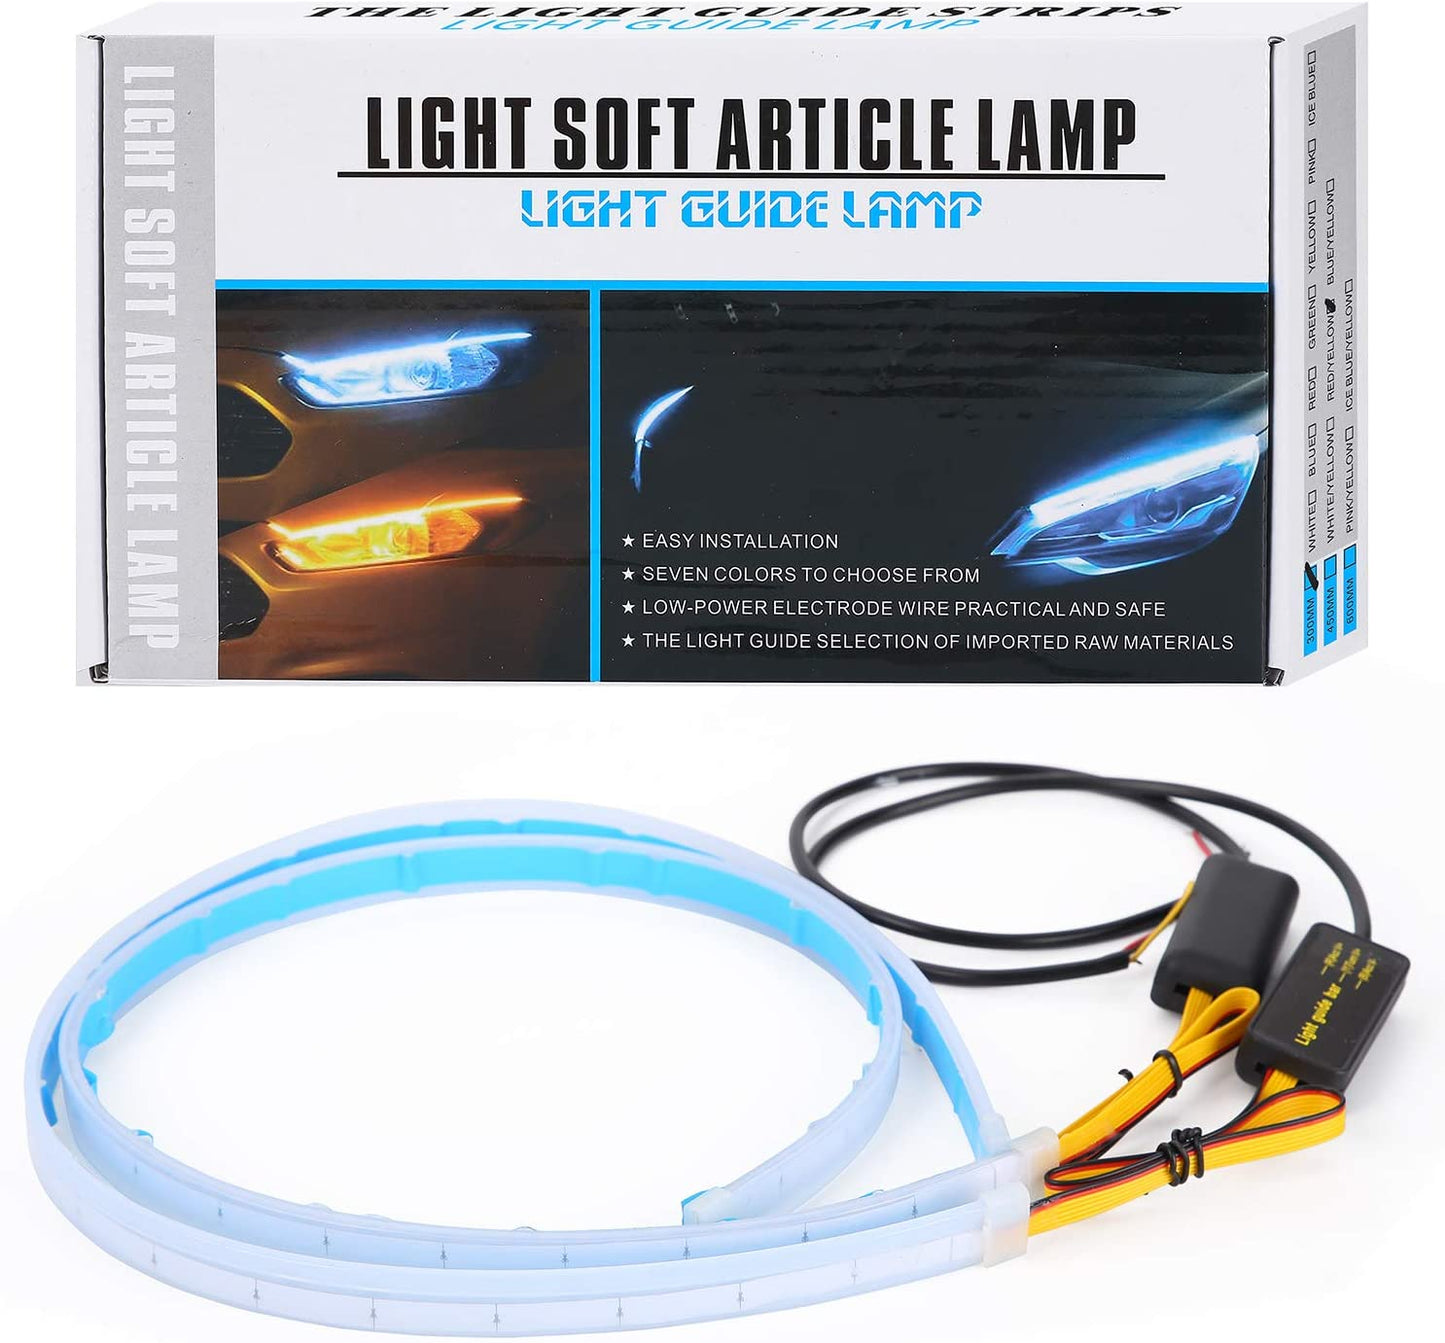
Flexible Car Led Light Strip, Dual Color 2 Pcs 24 Inches DRL LED Headlight Surface Strip Tube Light Daytime Running White & Amber Waterproof Switchback Sequential Lamp Turn Signal Light
About this item
- ➤EASY INSTALL:It can be installed without open the car headlight assembly. Lumen:1300,Pure high brightness,highlight seamless,import lights core,quality assurance, heat dissipation quickly,lasting lighting, As running light, it will be white when the car is running; as turn signal light, it will be sequential flowing yellow(amber) sequential when the car is turning.
- ➤ACCENT DRL AND TURN SIGNAL: A striking white liner look with turn signal actiavated amber lights. Flexibility is very good,soft and easy to make any shapes and length to fit into your headlight retrofit;Very strong plasticity,silicone is a kind of highly active adsorption material,the strip light no matter how twisted recovery is very good,non-flammable fire retardant burn.
- ➤BENDS TO YOUR WILL: Can be bent, twisted, and contoured to fit most headlights. The LED Strip Tube Lights can paste outside of the headlights directly without disassembling the headlight,super easy to install,just require right connect to the positive (+) and negative (-) side, It can be cut to any size and re-capped,after cutting, the tail must be insulated, otherwise it will be short-circuited.
- ➤Simply splice into your current DRL and turn signal wiring. Important Notice: Amazon filter system may not be 100% accurate, the bulb size may vary between trim of your vehicle. Please double check owner’s manual or original bulb size to confirm before placing an order.
- ➤24 Inches in Length,and the light strip can be cut as you need. The led tube light can be used for car headlight, daytime running light, turn signal light, angel eye light, and so on. Brighter and clearer than the original halogen lamps of your car. Compatible for most of vehicles like cars SUV vans trucks boats with DC 12V power.100% REFUND within 30 DAYS and 12 MONTHS FREE REPLACEMENT.
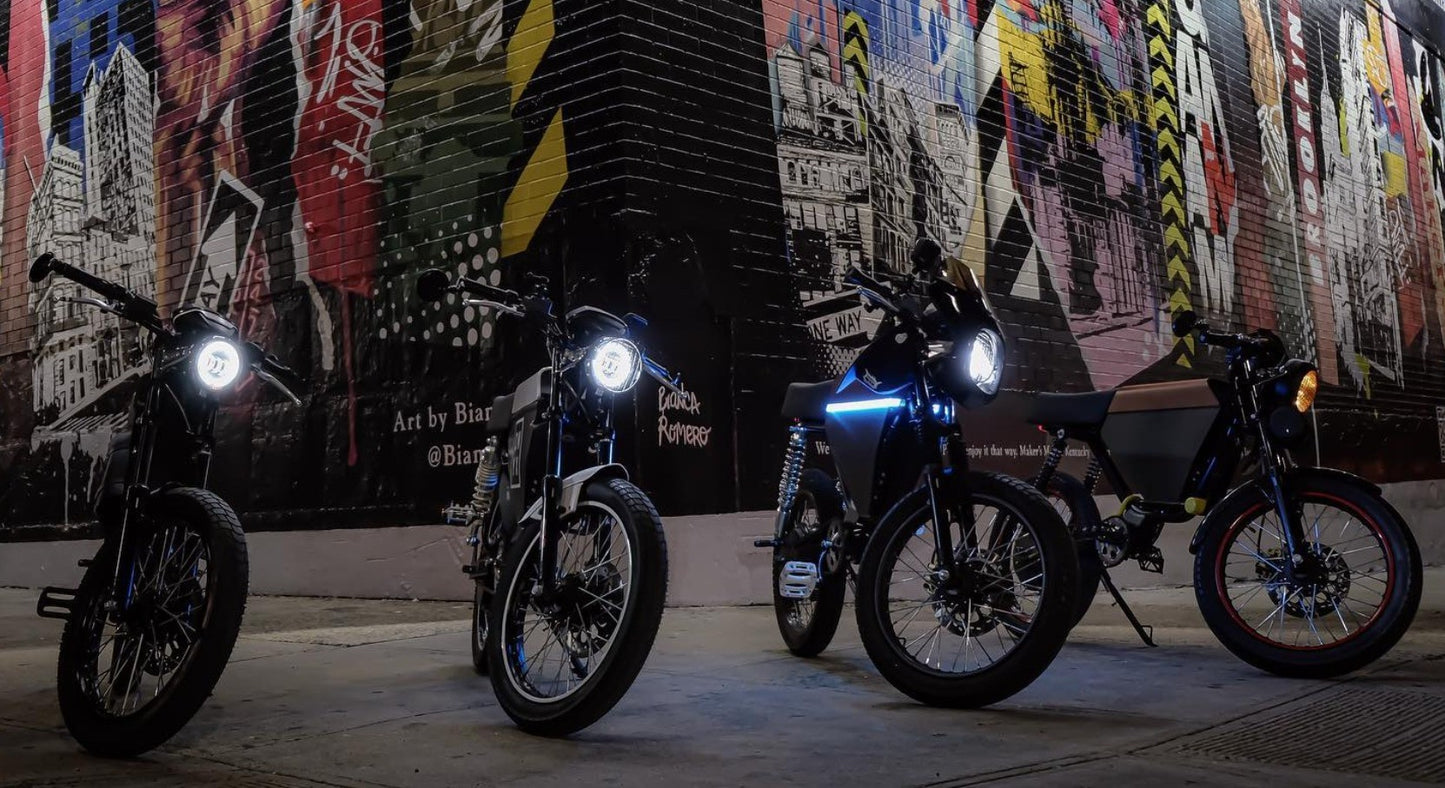
LED Turn Signal Installation Instructions for ONYX Motorbikes (works on other bikes too!!)
Tools and Materials Needed:
- Wire strippers and crimpers
- Multimeter
- Butt connectors OR bullet connectors (for easier removal)
- Heat shrink tubing
- Electrical tape
- Black zip ties
- Digital camera or smartphone for taking photos
Preparation:
- Safety First: Before starting, disconnect the battery to prevent any electrical shorts or shocks.
- Document Current Setup: Take clear photos of the existing wiring configuration for reference. This will be invaluable if you need to restore the setup.
Identification of Wires:
-
Locate Turn Signal Wires:
- Gently pull on the wires leading to the existing turn signals.
- Activate the turn signals via the motorcycle's controls (plugging the battery in temporarily).
- Disconnect one wire at a time to determine which wire powers the turn signals. The correct wire will cause the signal to stop when disconnected.
- Once identified, wrap this wire with tape and label it (e.g., "Left Turn").
-
Identify High Beam Wire for Running Lights:
- Similar to the turn signals, locate the wires leading to the headlight.
- Turn on the high beam and disconnect wires one at a time to find the controlling wire.
- Label the correct high beam wire once identified.
Wiring LED Signals:
- Check LED Orientation: Remember that LEDs are directional. If they do not light up, reverse the connections and try again.
-
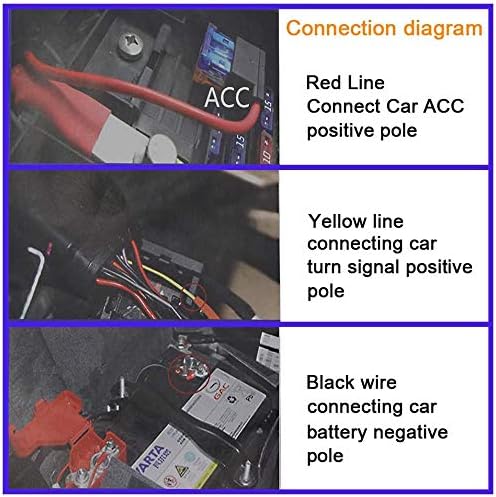
Connect the Wires:
- Red Wire: This is for the running lights. Connect this to the high beam wire you identified earlier.
- Yellow Wire: This is your turn signal wire. Connect it to the corresponding turn signal wire on the bike.
- Black Wire: This is your ground wire. Connect it to the motorcycle's ground or a common ground wire.
Finalizing Installation:
-
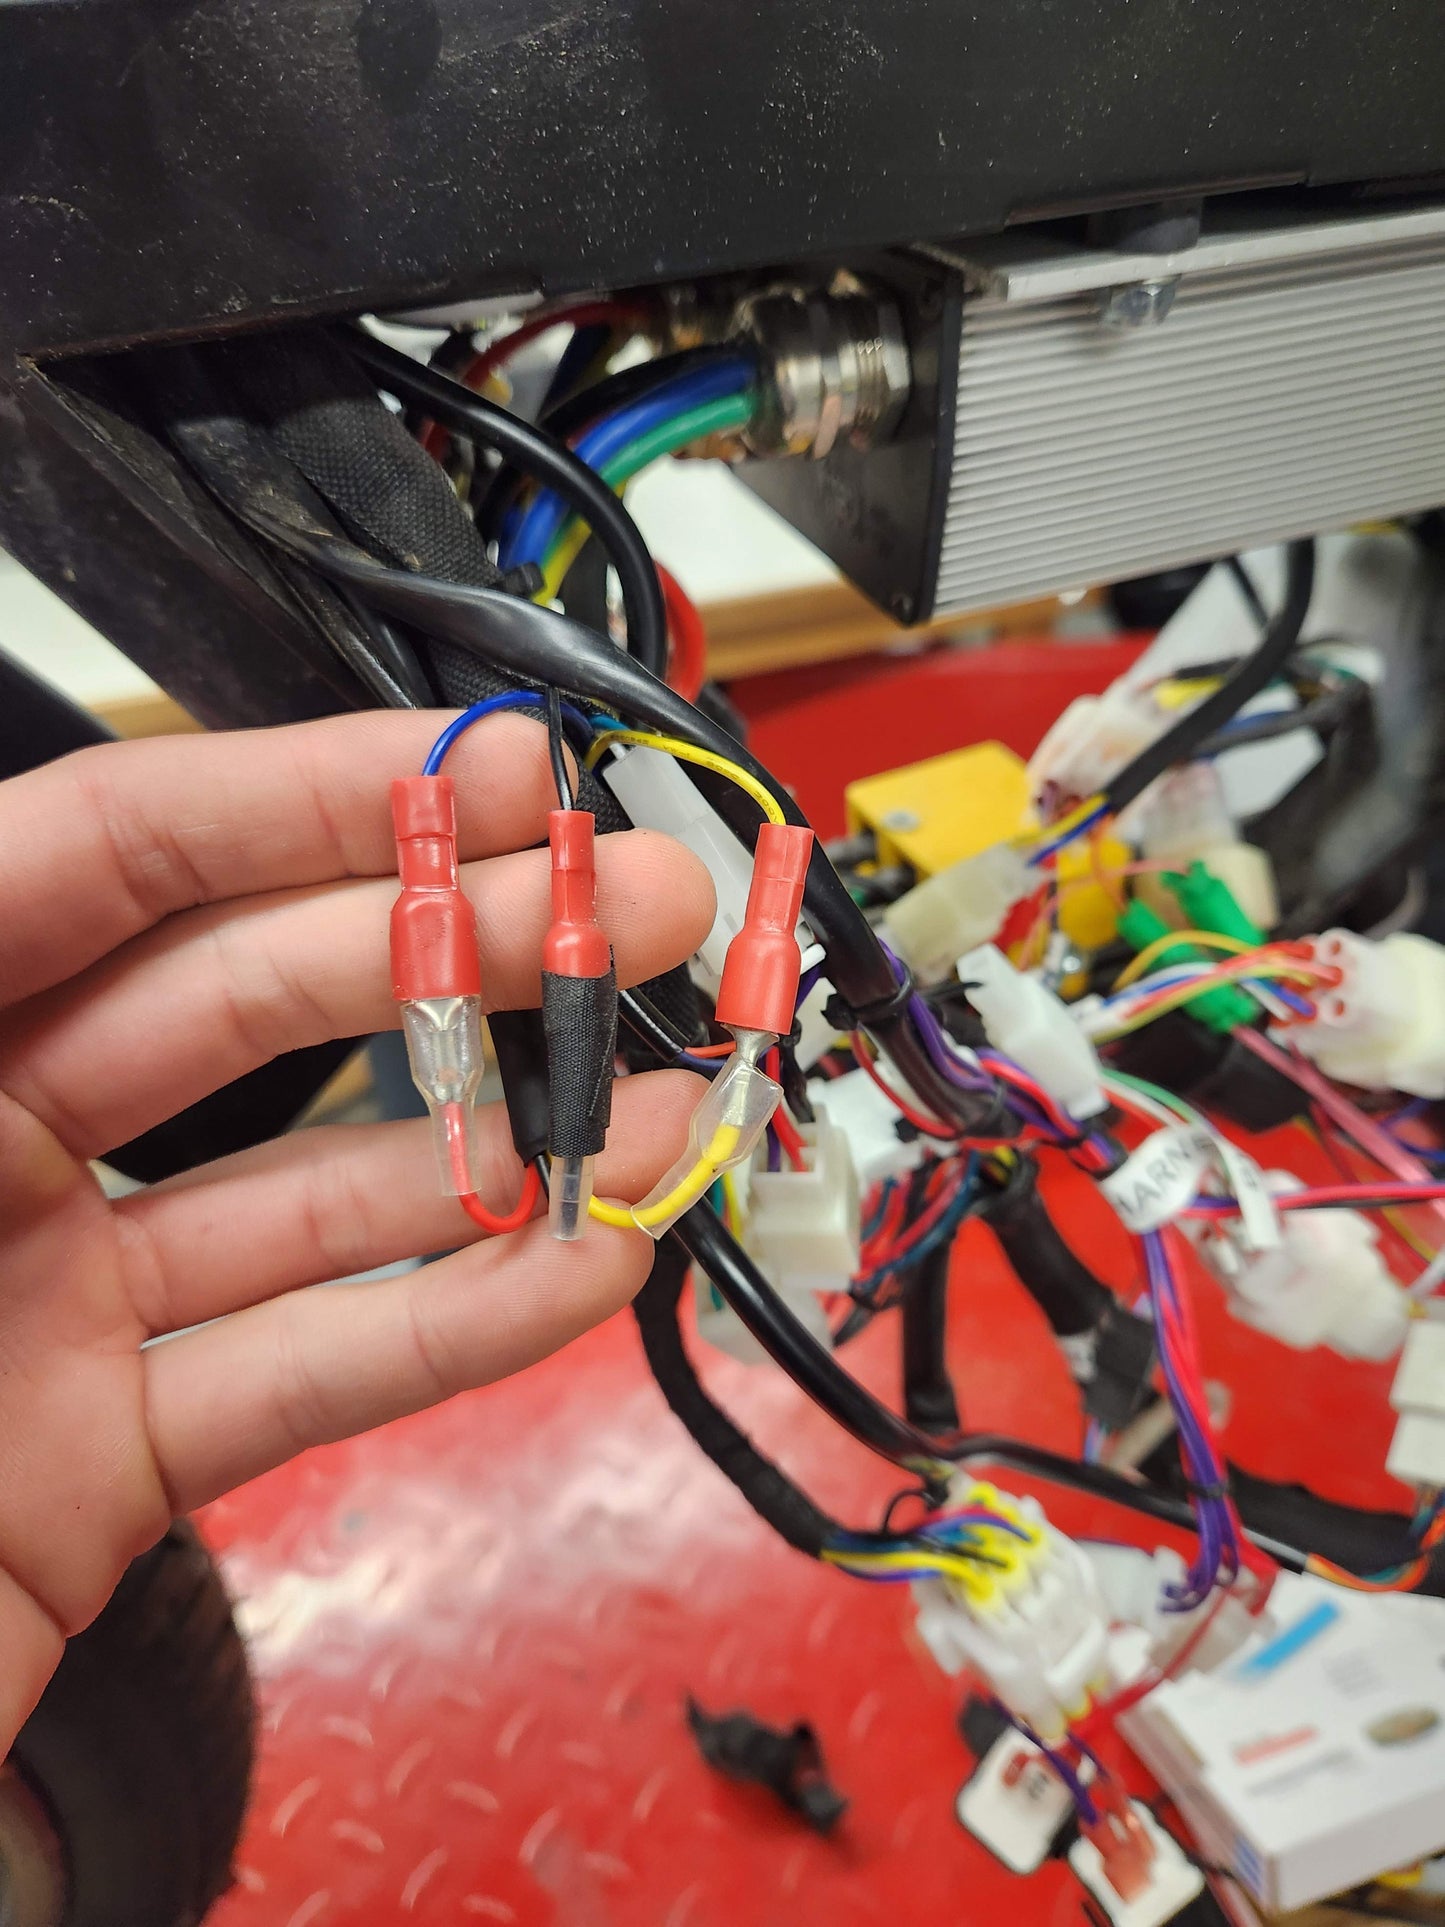
Secure Connections:
- Use butt connectors and heat shrink tubing to make secure and weatherproof connections.
- Wrap all connections with electrical tape to ensure they are well insulated.
-
Cable Management:
- Use black zip ties to neatly bundle the wires. This prevents damage and keeps the installation tidy.
-
Testing:
- Reconnect the battery.
- Test all lights—turn signals, running lights, and high beams—to ensure they work correctly before final assembly.
Best Practices:
- Use high-quality tools and materials to ensure a reliable installation.
- Always verify connections with a multimeter.
- Keep the workspace clean and organized to avoid losing components.
These detailed steps are designed to guide you through the installation process efficiently while ensuring a high standard of safety and functionality.
Video installing turn signals into an ONYX Motorbikes RCR:
Share